
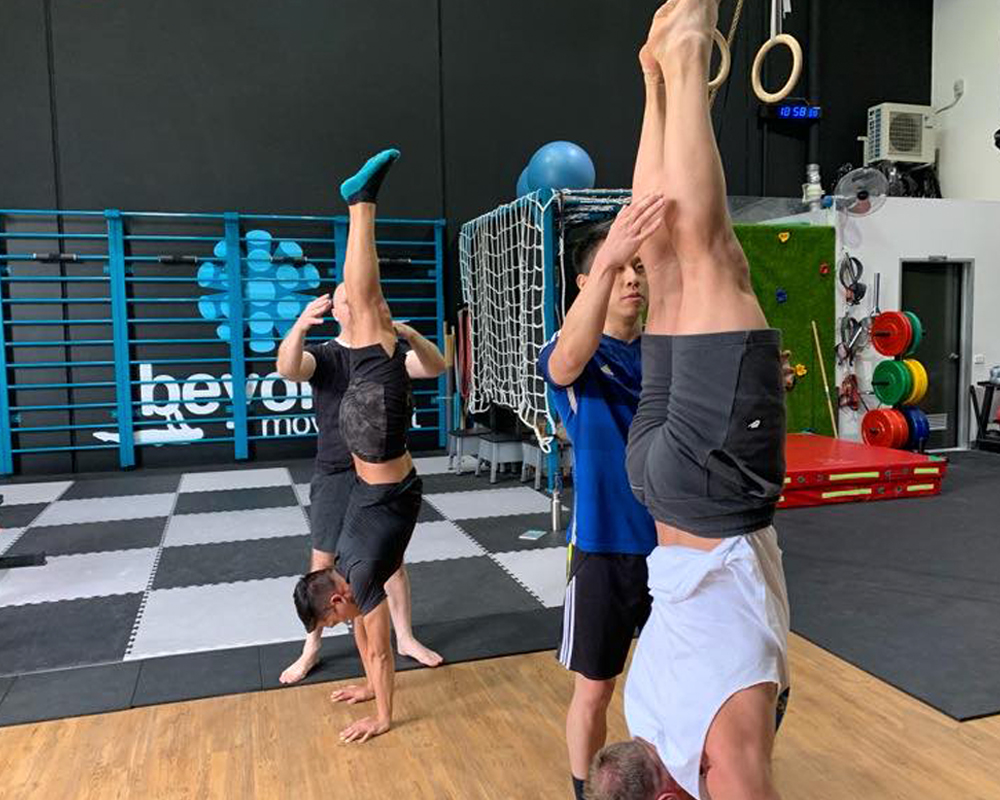
Chest-to-Wall Handstand
Master proper handstand alignment with wall support. This position teaches the straight line essential for freestanding balance.
The chest-to-wall handstand represents the gold standard for learning proper handstand alignment. Unlike back-to-wall positions that often encourage arching, this variation promotes the straight line from wrists to toes essential for balance. The position allows for extended holds to build endurance while maintaining quality positioning that transfers directly to freestanding practice.
Beyond Movement prioritises chest-to-wall work in handstand development, recognising its superiority for teaching proper mechanics. Students learn to stack joints efficiently, engage the correct muscles, and develop the proprioception needed for balance. The position also allows for safe practice of weight shifting and balance drills while maintaining wall support for safety.
Regular chest-to-wall practice accelerates handstand development by building specific endurance and teaching quality movement patterns from the start. The position strengthens shoulders in the exact alignment needed for balance while developing the core control to maintain position. This foundation proves invaluable when transitioning to freestanding practice, as the body already understands proper positioning.
How to do it
- 1 Start on hands and knees with feet against the wall Hands roughly a forearm's length from the skirting
- 2 Walk your feet up the wall while walking your hands in Move slowly - this is where the shape is built
- 3 Stop when your chest and hips are close to the wall and your body is vertical Only your toes should touch
- 4 Push the floor away and reach tall through the shoulders Ears covered by the upper arms
- 5 Squeeze glutes and ribs down to remove the arch The whole body should feel like one straight line
- 6 Hold for 20 to 30 seconds, breathing normally Come down before the shape breaks, not after
What it trains
Chest-to-wall builds the straight-line handstand shape: shoulder flexion overhead, an open thoracic spine, and enough core control to stop the lower back arching.
It is the honest version of the skill. Facing away from the wall lets you rest in a banana shape and feel successful while grooving a position that will never balance freestanding. Facing the wall removes that option - the wall stops you arching, so the only way to stay up is to actually stack.
Most people are limited by shoulder flexion rather than strength. If you cannot raise your arms fully overhead lying on your back with ribs down, that missing range shows up here as an arch, and shoulder mobility work will progress your handstand faster than more handstand practice.
Prerequisites
- Wall walk ability
- 30+ second plank
- Shoulder mobility for overhead position
- Wrist conditioning
- Comfort being inverted
Common mistakes
-
Banana back
Maintain hollow body position
-
Hands too far from wall
Keep close for proper angle
-
Looking at wall
Maintain neutral head
-
Death grip
Relax unnecessary tension
-
Holding breath
Breathe calmly
Learn This Skill In These Classes
Related Skills
Foundation
Wall Walks
Build handstand strength and confidence with this progressive exercise. Walk up the wall to develop the specific strength for inversions.
Foundation
Hollow Body Hold
The fundamental core position for all gymnastics movements. Master this to unlock handstands, levers, and advanced skills.
Foundation
Shoulder Conditioning
Build bulletproof shoulders with targeted strengthening exercises. Essential for injury prevention and advanced skill development.
Foundation
Wrist Conditioning
Prepare your wrists for the demands of handstand and floor work. Build strength and mobility for sustainable practice.
Progression
Freestanding Handstand
Master the art of balancing on your hands without wall support. This foundational inversion builds incredible shoulder strength, core stability, and full-body awareness.
Progression
Handstand Push-Up
Build incredible pressing power with vertical push-ups in a handstand. This skill develops unmatched shoulder and tricep strength.
Common questions about Chest-to-Wall Handstand
How long does it take to learn Chest-to-Wall Handstand?
Most people need 4-8 weeks of consistent, coached practice. That assumes you can already meet the prerequisites below — starting without them is the single biggest reason progress stalls.
What do you need before starting Chest-to-Wall Handstand?
Build these first: Wall walk ability,30+ second plank,Shoulder mobility for overhead position,Wrist conditioning,Comfort being inverted. Each one removes a specific limitation, so working on them is not a detour — it is the fastest route to the skill.
What muscles are worked in Chest-to-Wall Handstand?
Chest-to-wall builds the straight-line handstand shape: shoulder flexion overhead, an open thoracic spine, and enough core control to stop the lower back arching.
It is the honest version of the skill. Facing away from the wall lets you rest in a banana shape and feel successful while grooving a position that will never balance freestanding. Facing the wall removes that option - the wall stops you arching, so the only way to stay up is to actually stack.
Most people are limited by shoulder flexion rather than strength. If you cannot raise your arms fully overhead lying on your back with ribs down, that missing range shows up here as an arch, and shoulder mobility work will progress your handstand faster than more handstand practice.
What are the most common Chest-to-Wall Handstand mistakes?
- Banana back — Maintain hollow body position
- Hands too far from wall — Keep close for proper angle
- Looking at wall — Maintain neutral head
- Death grip — Relax unnecessary tension
- Holding breath — Breathe calmly